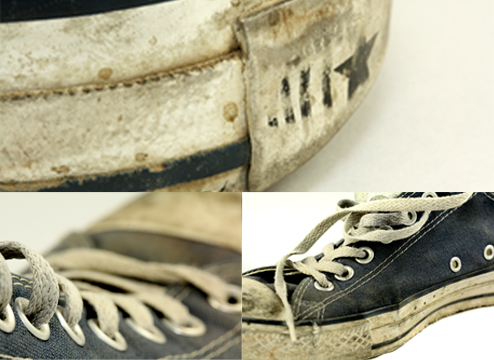
“Hi, I’m a Con.”
I chose one my favorite shoes to expose as the first subject in my new light box. A light box (or light tent) eliminates the unwanted shadows that you often get when shooting objects like this, and comes in handy for displaying products for promotions. Light Boxes can be made at home for cheap, but ever the wannabe handyman, I had a gift certificate to Tempe Camera and went the really easy route instead: an SV Imagemaker Plus Light Tent that included some backdrops and two external lamps.
The main issue I’ve identified after my first session with this equipment is that it’s very easy to overexpose the photograph. Adjusting the white balance manually makes a big difference and is something I’ll do every time from now on. Also, it is possible to get good lighting without external lamps, but I was very pleased with the way they worked together when placed on opposite sides of the subject. Finally, the most important pick-up I’ll need to make before my next session is some write-on / write-off poster board to give the backdrop and surface a cleaner and more continuous appearance. I used white fabric in these shots and many times the patterns appeared in the background and detracted from the image.
Still, love how my shoe turned out in these shots.
Click here to see these photos up-close
Equipment used:
- 100mm – f/2.8 macro lens
- SV Imagemaker Plus Light Tent
- Two external lamps
- Speedlite 580 exii external flash
- Tripod


